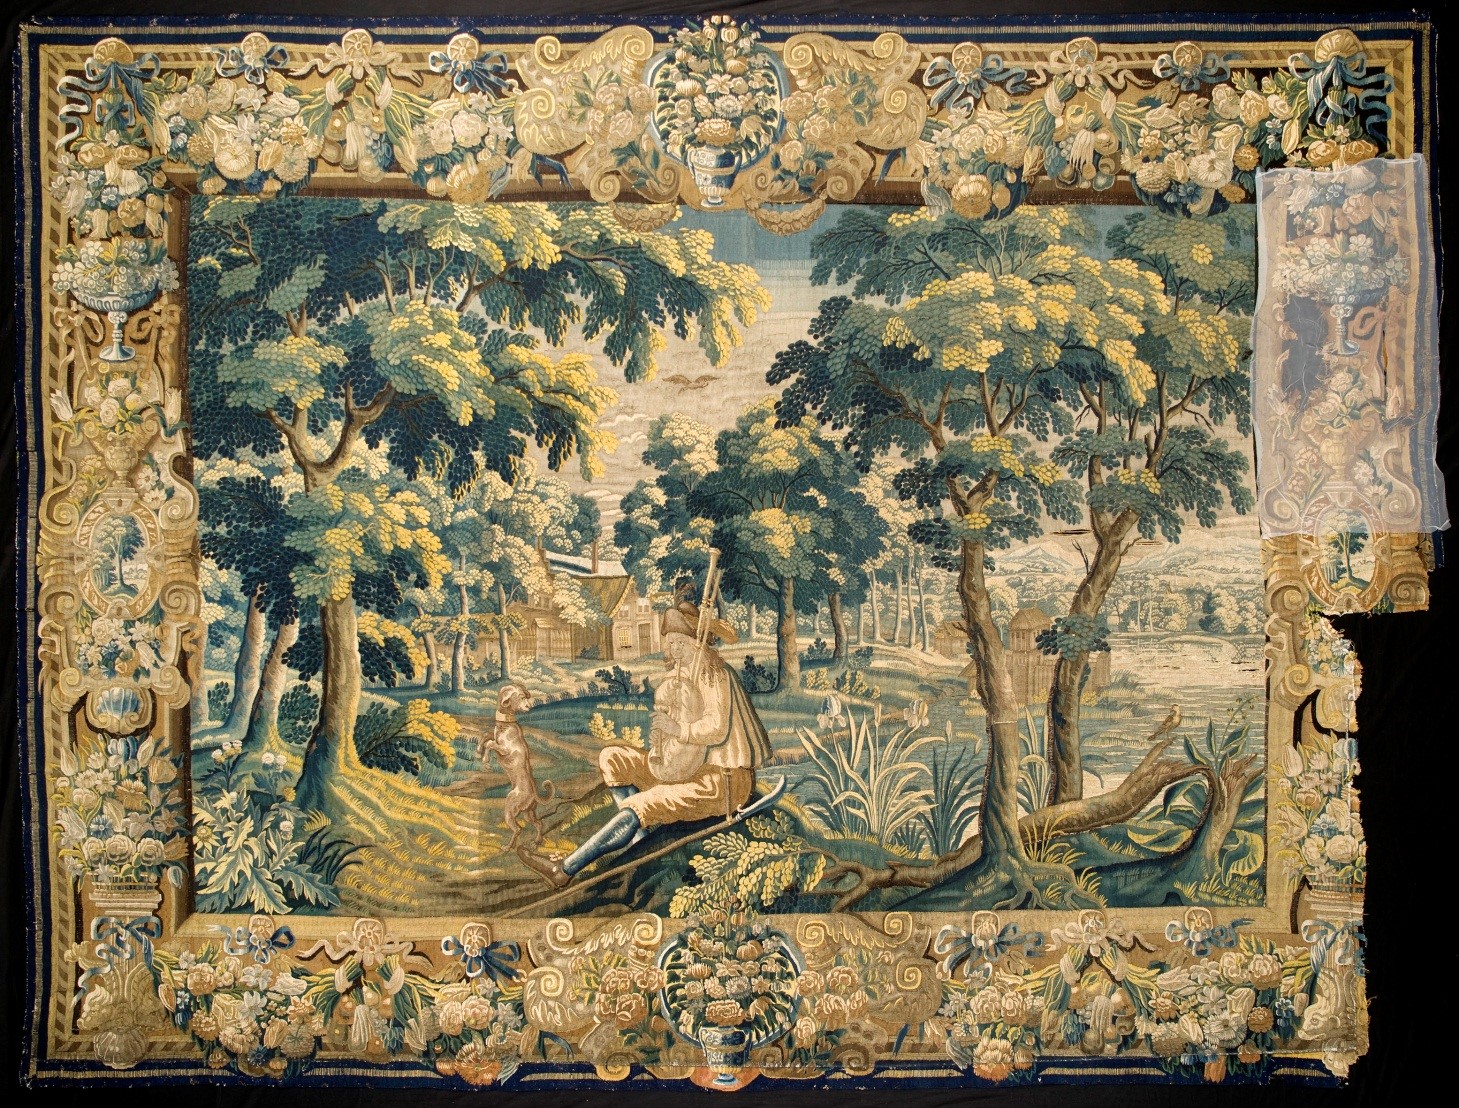
Here are some images of two of the tapestries we are working on. Image 1, is the ‘Bagpiper with his Dancing Dog’. We think the image really draws you in; the weavers have really achieved a sense of depth. It feels like you could walk through the trees to the bagpiper’s house in the background! You can see where the tapestry is cut to fit around the fire place of the Holly bedroom on the right of the image.
Image 1. ‘The Bagpiper and the Dancing Dog’ tapestry
Image 2. ‘The Cobbler’ tapestry
Image 2, is a picture of ‘The Cobbler’. We love his fur hat and silky shoe laces. You can see a bird escaping from the bird cage above his head. This tapestry is the other side of the fireplace and has an even bigger section cut out of it. The lower boarder is made up of patches from other tapestries. Both the tapestries are going to go back where they came from so we won’t be filling in the missing fireplace areas.
Image 3. Here is a close-up image of ‘The Cobbler’ tapestry for you to see some of the details we mentioned.
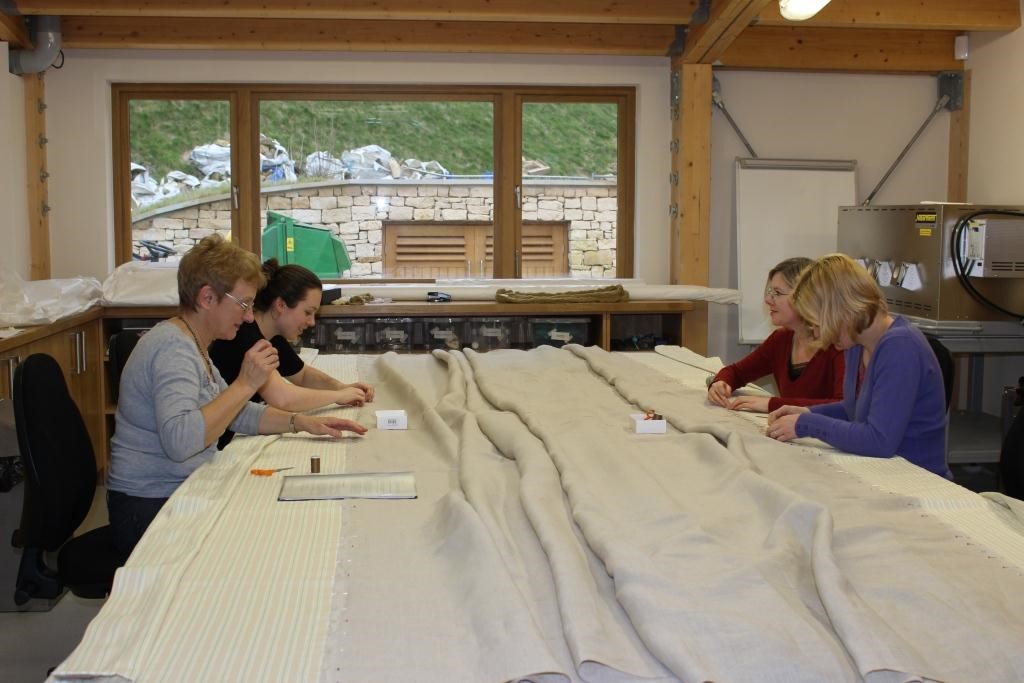
We have been stitching now for a few weeks and both the bagpiper and cobbler tapestries are well under way. We have been working across the tapestries in 20 cm sections (a manageable area for us to reach and work in). These sections are divided by what we call a ‘scrim line’. This is a line of straight stitching which attaches the linen support fabric (linen scrim) to the tapestry. Before we put the linen fabric on the frame we pulled threads from it at 21 cm intervals (this is a centimetre bigger than the measurement on the tapestry which allows for a small amount of excess linen so as not to cause any tension in the tapestry when we stitch). We match the pulled lines on the linen fabric with our 20 cm measurement on the tapestry and pin both together, this requires quite a bit of sitting on the floor under the tapestry stretching our arms around to the top. A technique we have been referring to as ‘monkey arms’.
Once the line is pinned we then stitch it in, again involving a lot of ducking under to make sure our stitches are going through the pulled line in the linen underneath the tapestry. We then pin all the linen in the section to the back of the tapestry to make sure it is distributed evenly and the weave is straight, only then can we start our stitching work in the section. Image 4, is a picture of our first section on the bagpiper tapestry. You can see the two scrim lines which form the bottom and top of our 20 cm section.
Image 4. Scrim lines visible underneath the frame
Our first two sections of the both tapestries required quite a few hours of work as there were quite a few holes, many from the nails that were used to secure the tapestries to the walls originally. There are also many slits to repair and reinforce. We will let you know a bit more about the stitches we use to conserve the tapestries in our next blog.
For images and weekly updates on the conservation project, follow us on Instagram at conservation_at_doddington.