When the tapestries were made nearly 400 years ago, all the wools and silk yarns used to weave them would have been dyed with natural dyes often made from the leaves, flowers and roots of plants such as madder, woad and weld. These would have been combined with different mordants such as alum, ammonia from urine, vinegar and metals such as copper and iron to create different shades.
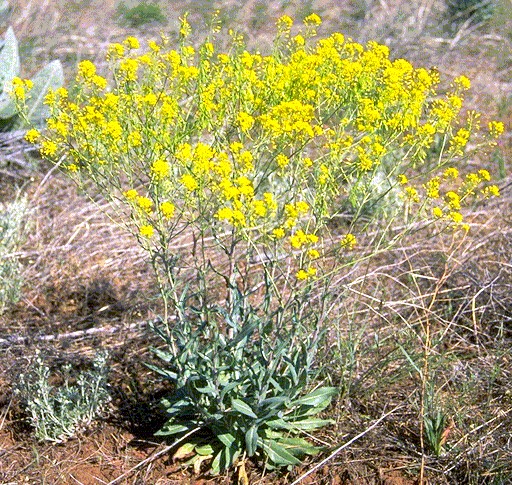
Image 1. Woad plant used to make blues
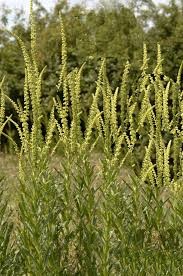
Image 2. Weld plant used to make yellows
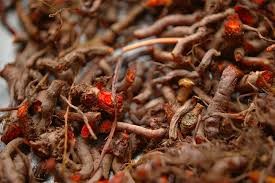
Image 3. Madder root used to make reds
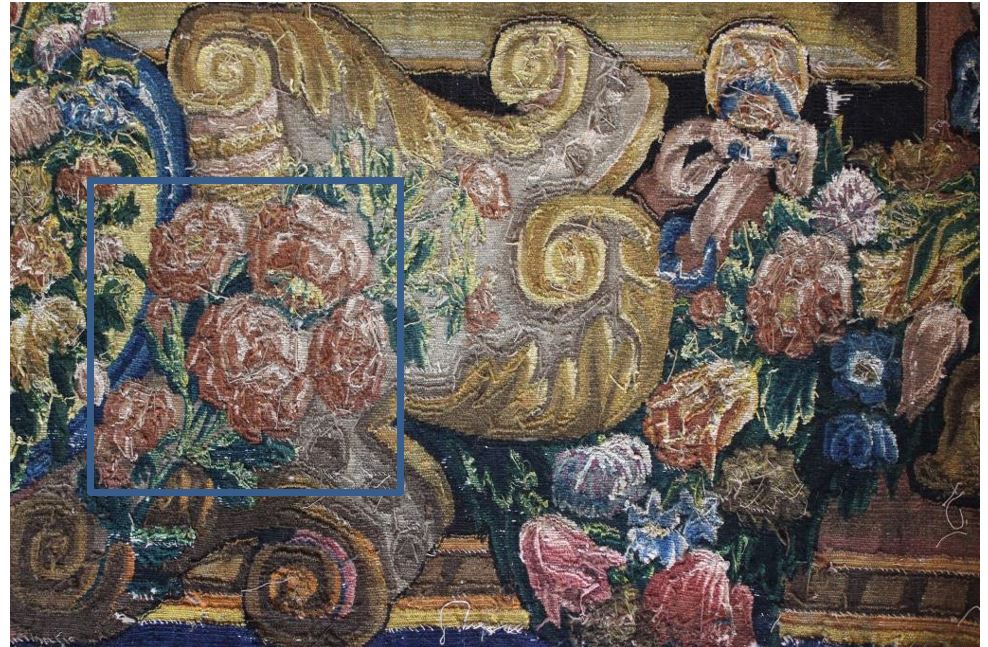
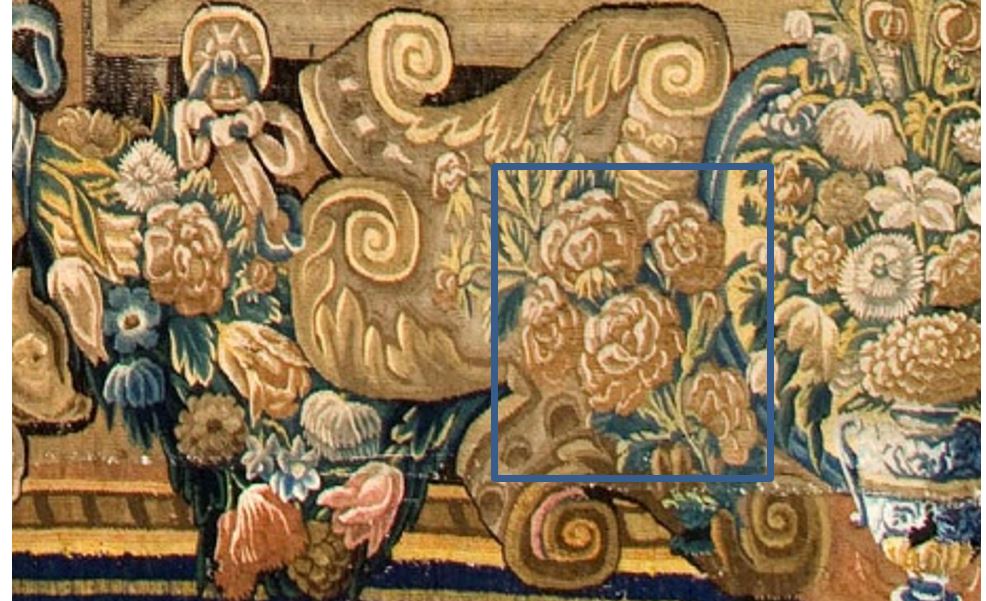
The colours would have been very bright but over time light has faded them. Many of the reds, pinks and purples have faded to browns and greys and the greens in many places have changed to yellows and blues. You can see in the photos below of an area of the falconer tapestry taken from the back and the front just how the colours have faded and changed, especially the pinks, reds and purples.
Images 4 and 5. Look how much redder the roses are on the back of the tapestry when compared with the more faded front.
We are not able to return the colours to these original colours so all the yarns we use during the conservation must match the colours the tapestries are now. We do not use natural dyes to dye the colours we need instead we use synthetic man made dyes. This is because we know that these man-made dyes have good light fastness so will not fade and therefore change colour as quickly as the natural dyes might. The colours are also much easier to replicate many times over using strict recipes which base the quantity of dye used on the weight of the fabric or yarn you are wishing to dye.
Largely we have been able to buy most of the wools we need for the conservation which have already been commercially dyed. However, there are a few colours we have needed to dye ourselves.
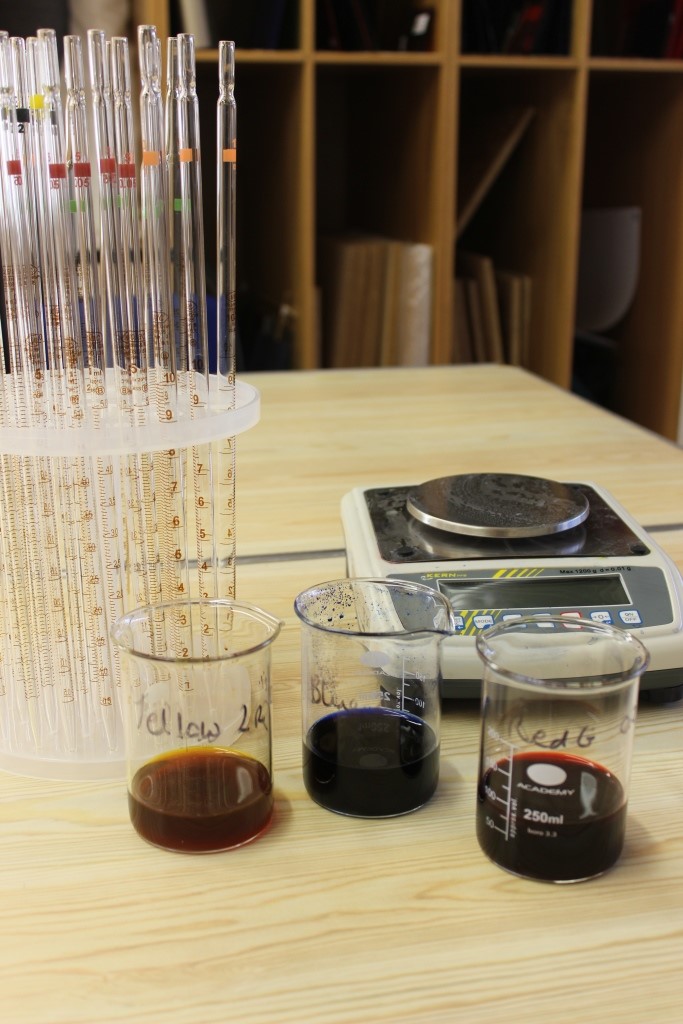
Finding the right colour involves carrying out several trials to find the right recipe. First, we make up stock solutions of the dye colours by weighing out the dye powders separately and mixing them with water, often to make a 0.2% or 1 % solution.
Image 6. Here is an image of our stock solutions of dye colours and the pipettes we use to accurately measure the quantities we need.
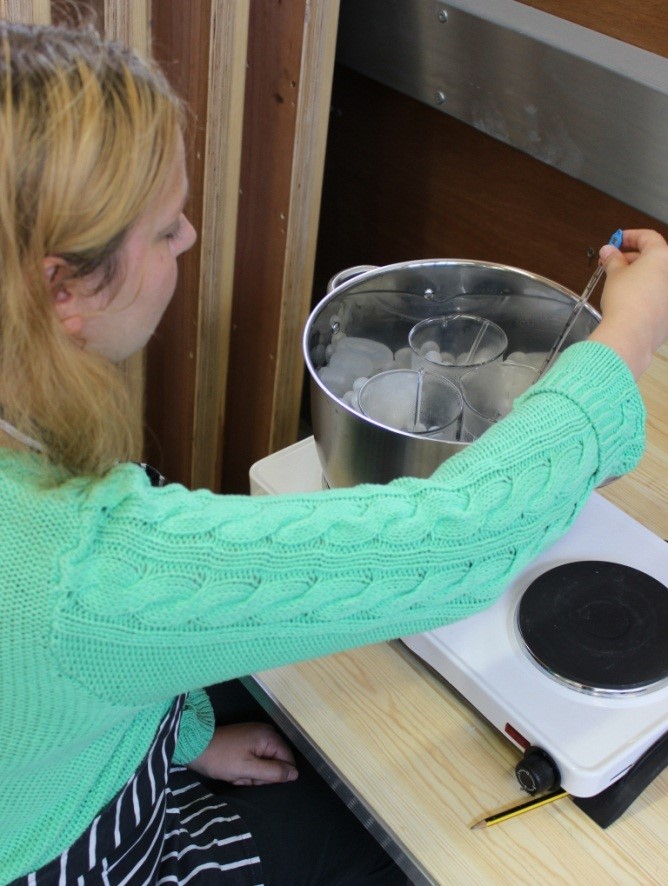
We then weigh the fabric or yarn we want to dye and decide how dark or light we want the colour to be (the depth of shade) in order to calculate the total amount of dye we need. We then decide what percentage of that total dye should be yellow, red or blue for instance in order to create the colour we want. These percentages can then be altered, changing the ratio of one colour to another if the sample is for example too yellow or red. It’s all quite mathematical! We put our sample fabrics in beakers with the dyes and dye additives, which includes acetic acid (which helps the dye molecules bind to the wool fibres) then heat them on a hot plate following a dye cycle that takes a couple of hours from start to finish.
Image 7. Here is an image of Louise dyeing three sample colours in a bane marie on the hot plate.
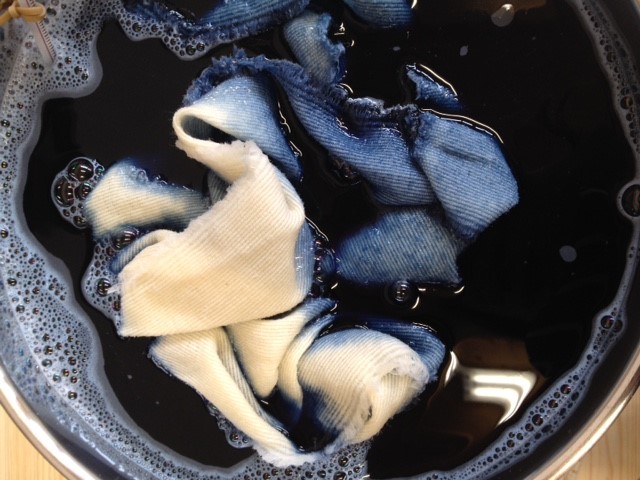
Image 8. Submerging a large piece of fabric into a dye bath using a recipe that matches the colour of the borders of the tapestries. The dyed fabric can then be used for patching large holes in these areas.
Some colours we have been lucky with and have only needed to do a couple of samples before finding the right colours where others have been more elusive. Our biggest problem has been making the colours too bright, making sludgy colours is harder than you may think!
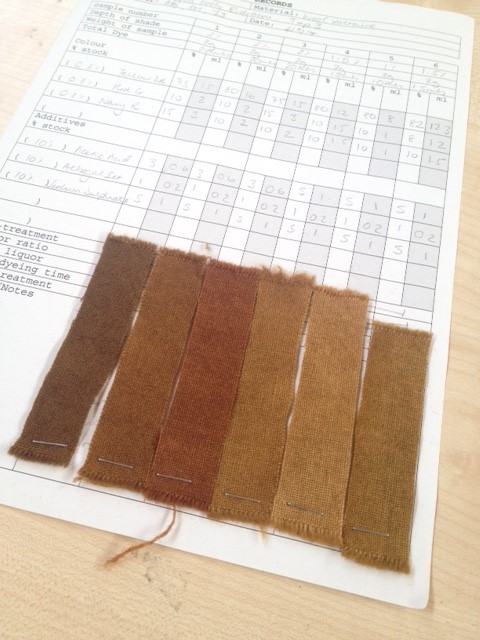
Image 9. Here is an image of one of our sample sheets, giving the recipe for each colour.
For images and weekly updates on the conservation project, follow us on Instagram at conservation_at_doddington.