The tapestry team have been working hard on The Hunter and The Peddler tapestries, these both have cuts in them to allow for two doors to open through the tapestries. This makes the conservation much more complex than a standard rectangular tapestry. Recently we reached the door opening edge on the Hunter tapestry, this needed to be supported. We will now explain how we went about supporting the corner using archival cotton tape and supportive stitching.
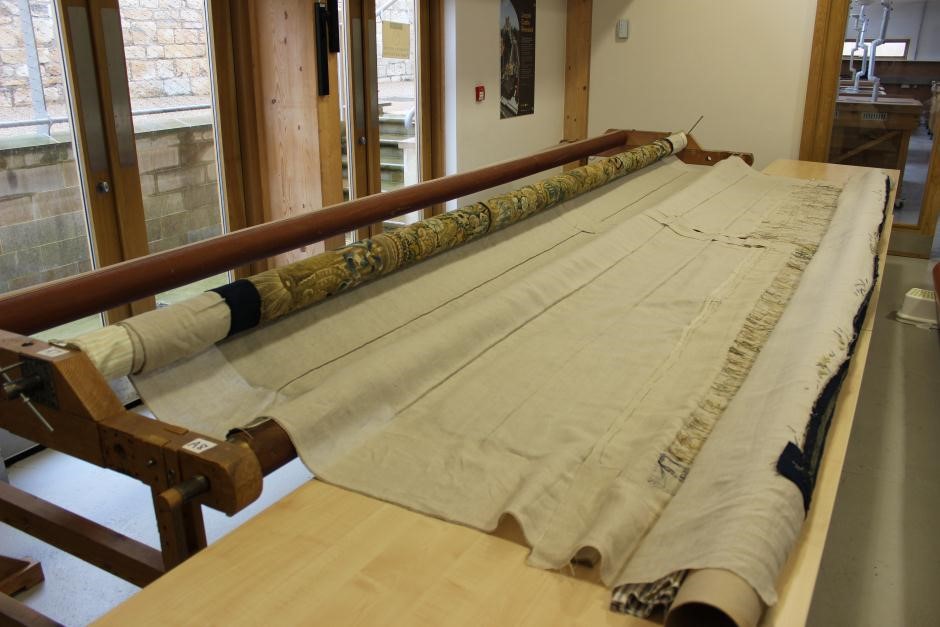
Image 1. This photograph shows the hunter tapestry rolled out onto flat tables on its reverse face, so the linen can be handled and supported by the conservators.
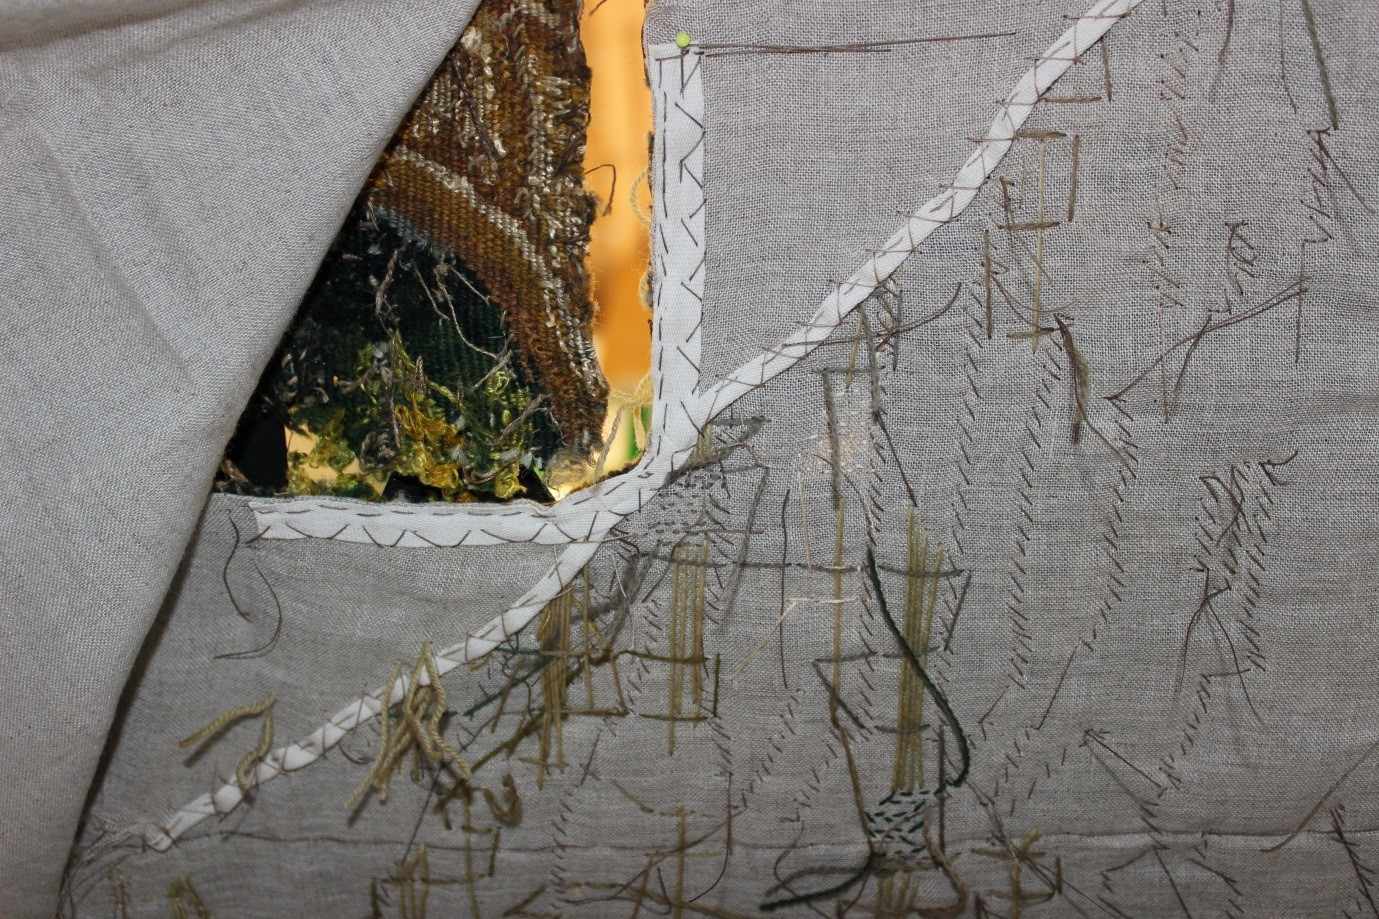
Image 2. Shows the top corner of the door way edge. The tapestry has been supported using tapestry conservation stitching around the outer edge and is ready for the linen scrim to be turned back. For the corner, we need to cut the linen at a 45-degree angle to create an even turn back.
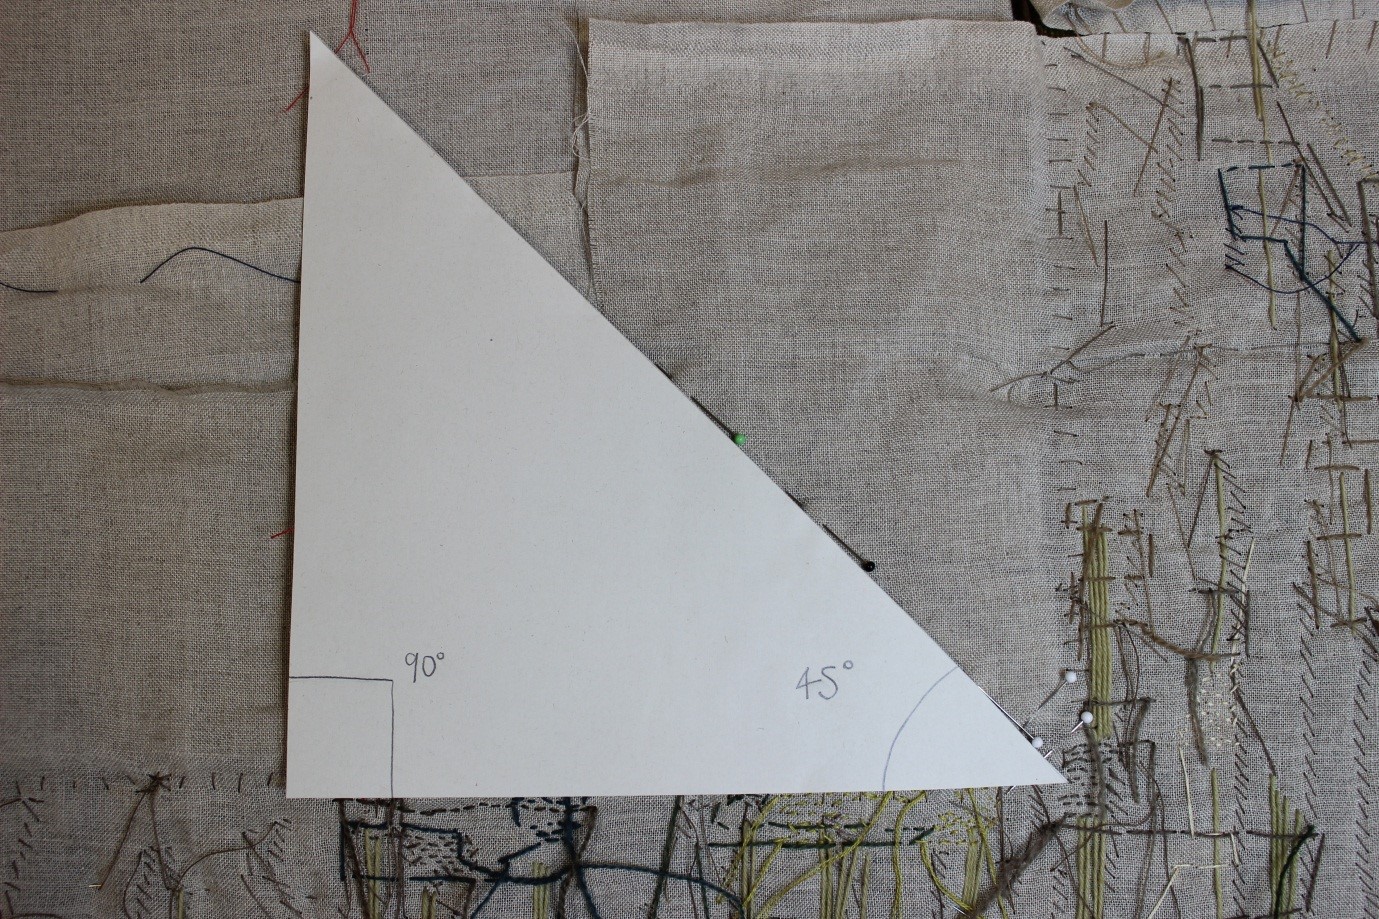
Image 3. A 45-degree template was created out of paper and in pencil the angles were marked for reference. The template was used to insert pins to create a line to follow when cutting the linen to create a fold back at the corner.
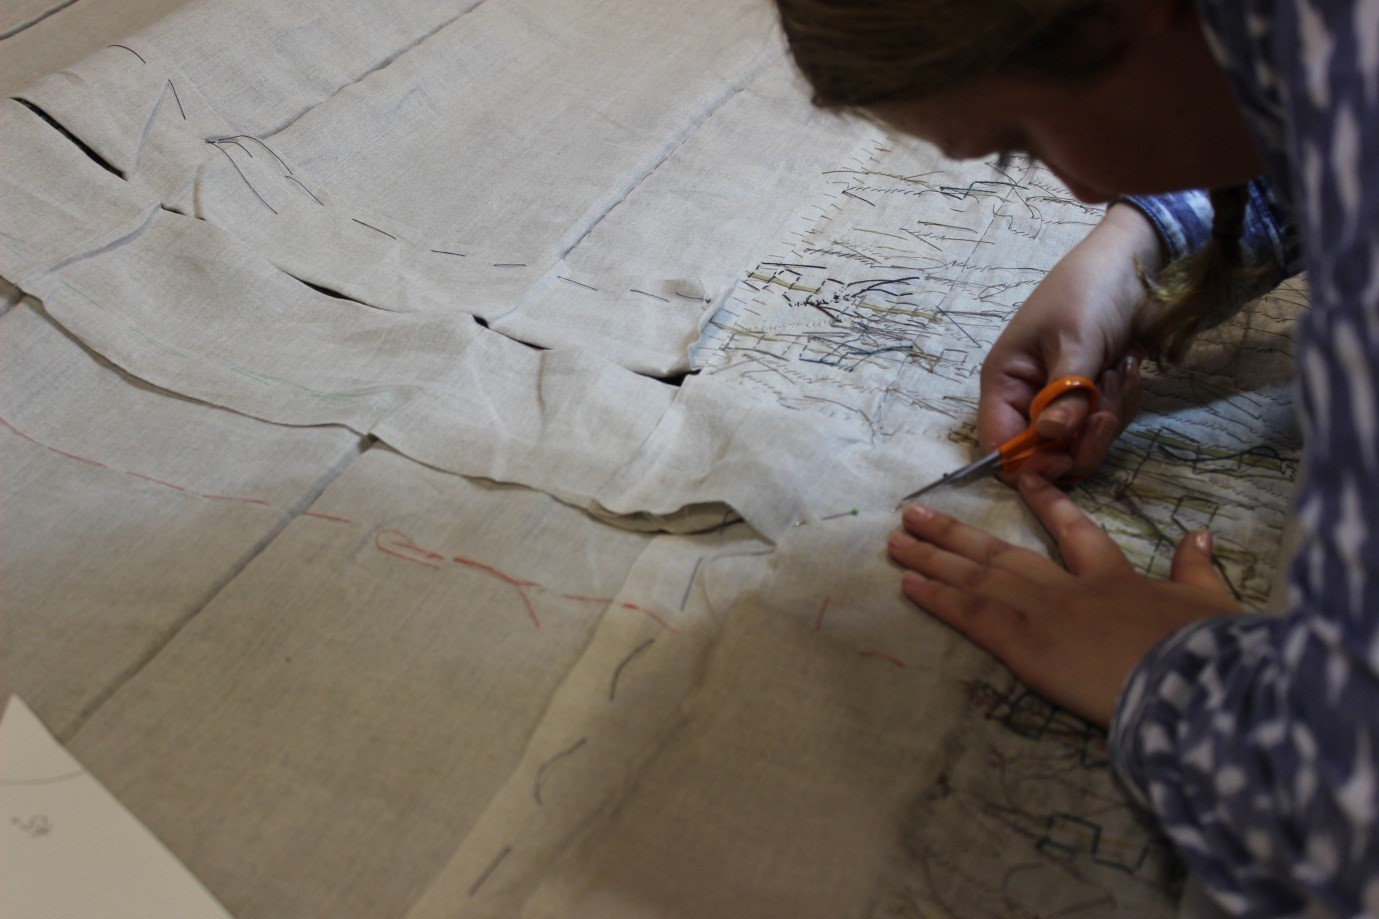
Image 4. Using a small pair of scissors, we carefully cut the linen at the 45-degree angle following the line of pins. The cutting stopped 1cm away from the corner point to prevent fraying of the linen and to allow the raw edge to be supported.
Image 5. Once the linen was cut the linen was folded back. Using 10mm archival quality cotton tape the raw edges created by the cut were encased. This was done by folding the tape in half, then pinning it into place and fixing it with a running stitch, using a polyester thread.
Image 6. Once the raw edge was encased, another length of 10mm archival cotton tape was used around the edge, folding at the corner. This was secured through the linen and the tapestry by going over one warp on the front face of the tapestry and doing a running stitch on the reverse face for the most inner edge. For the outer edge of the tape, it was secured going over one warp on the front face and a large zig zag stitch on the reverse face.
We needed two conservators for this part of the process, one underneath the frame and one above to pass the needle and thread with precision through the tapestry, linen and cotton tape.
Image 7. After the corner tape was secured, a large zig zag stitch was used over the first fold back. This was done to fix the fold back and prevent the tape from unravelling.
The next stage will be to complete the conservation stitching on the door and surrounding areas. After that the top corner for the door opening will be mitred as well to fold back the excess linen. All the door cut edges will further be supported by a suitable coloured cotton tape encasing all the raw edges of the tapestry.
For images and weekly updates on the conservation project, follow us on Instagram at conservation_at_doddington.