Now that we have completed many of the tapestries stitched supports, we have started on the lining process. I have been given to the opportunity to learn how to line a tapestry under the guidance of Louise. Lining the tapestries is an important part of tapestry conservation as it protects the tapestry from dust and pests.
We use downproof cotton to line the tapestries because it has a close weave (traditionally to stop the down feathers coming out of your cushions) and is a better dust barrier than other cotton weaves. As most tapestries are wider than the widths of the downproof cotton we have to cut multiple lengths. These lengths then have to be stitched together using a sewing machine.
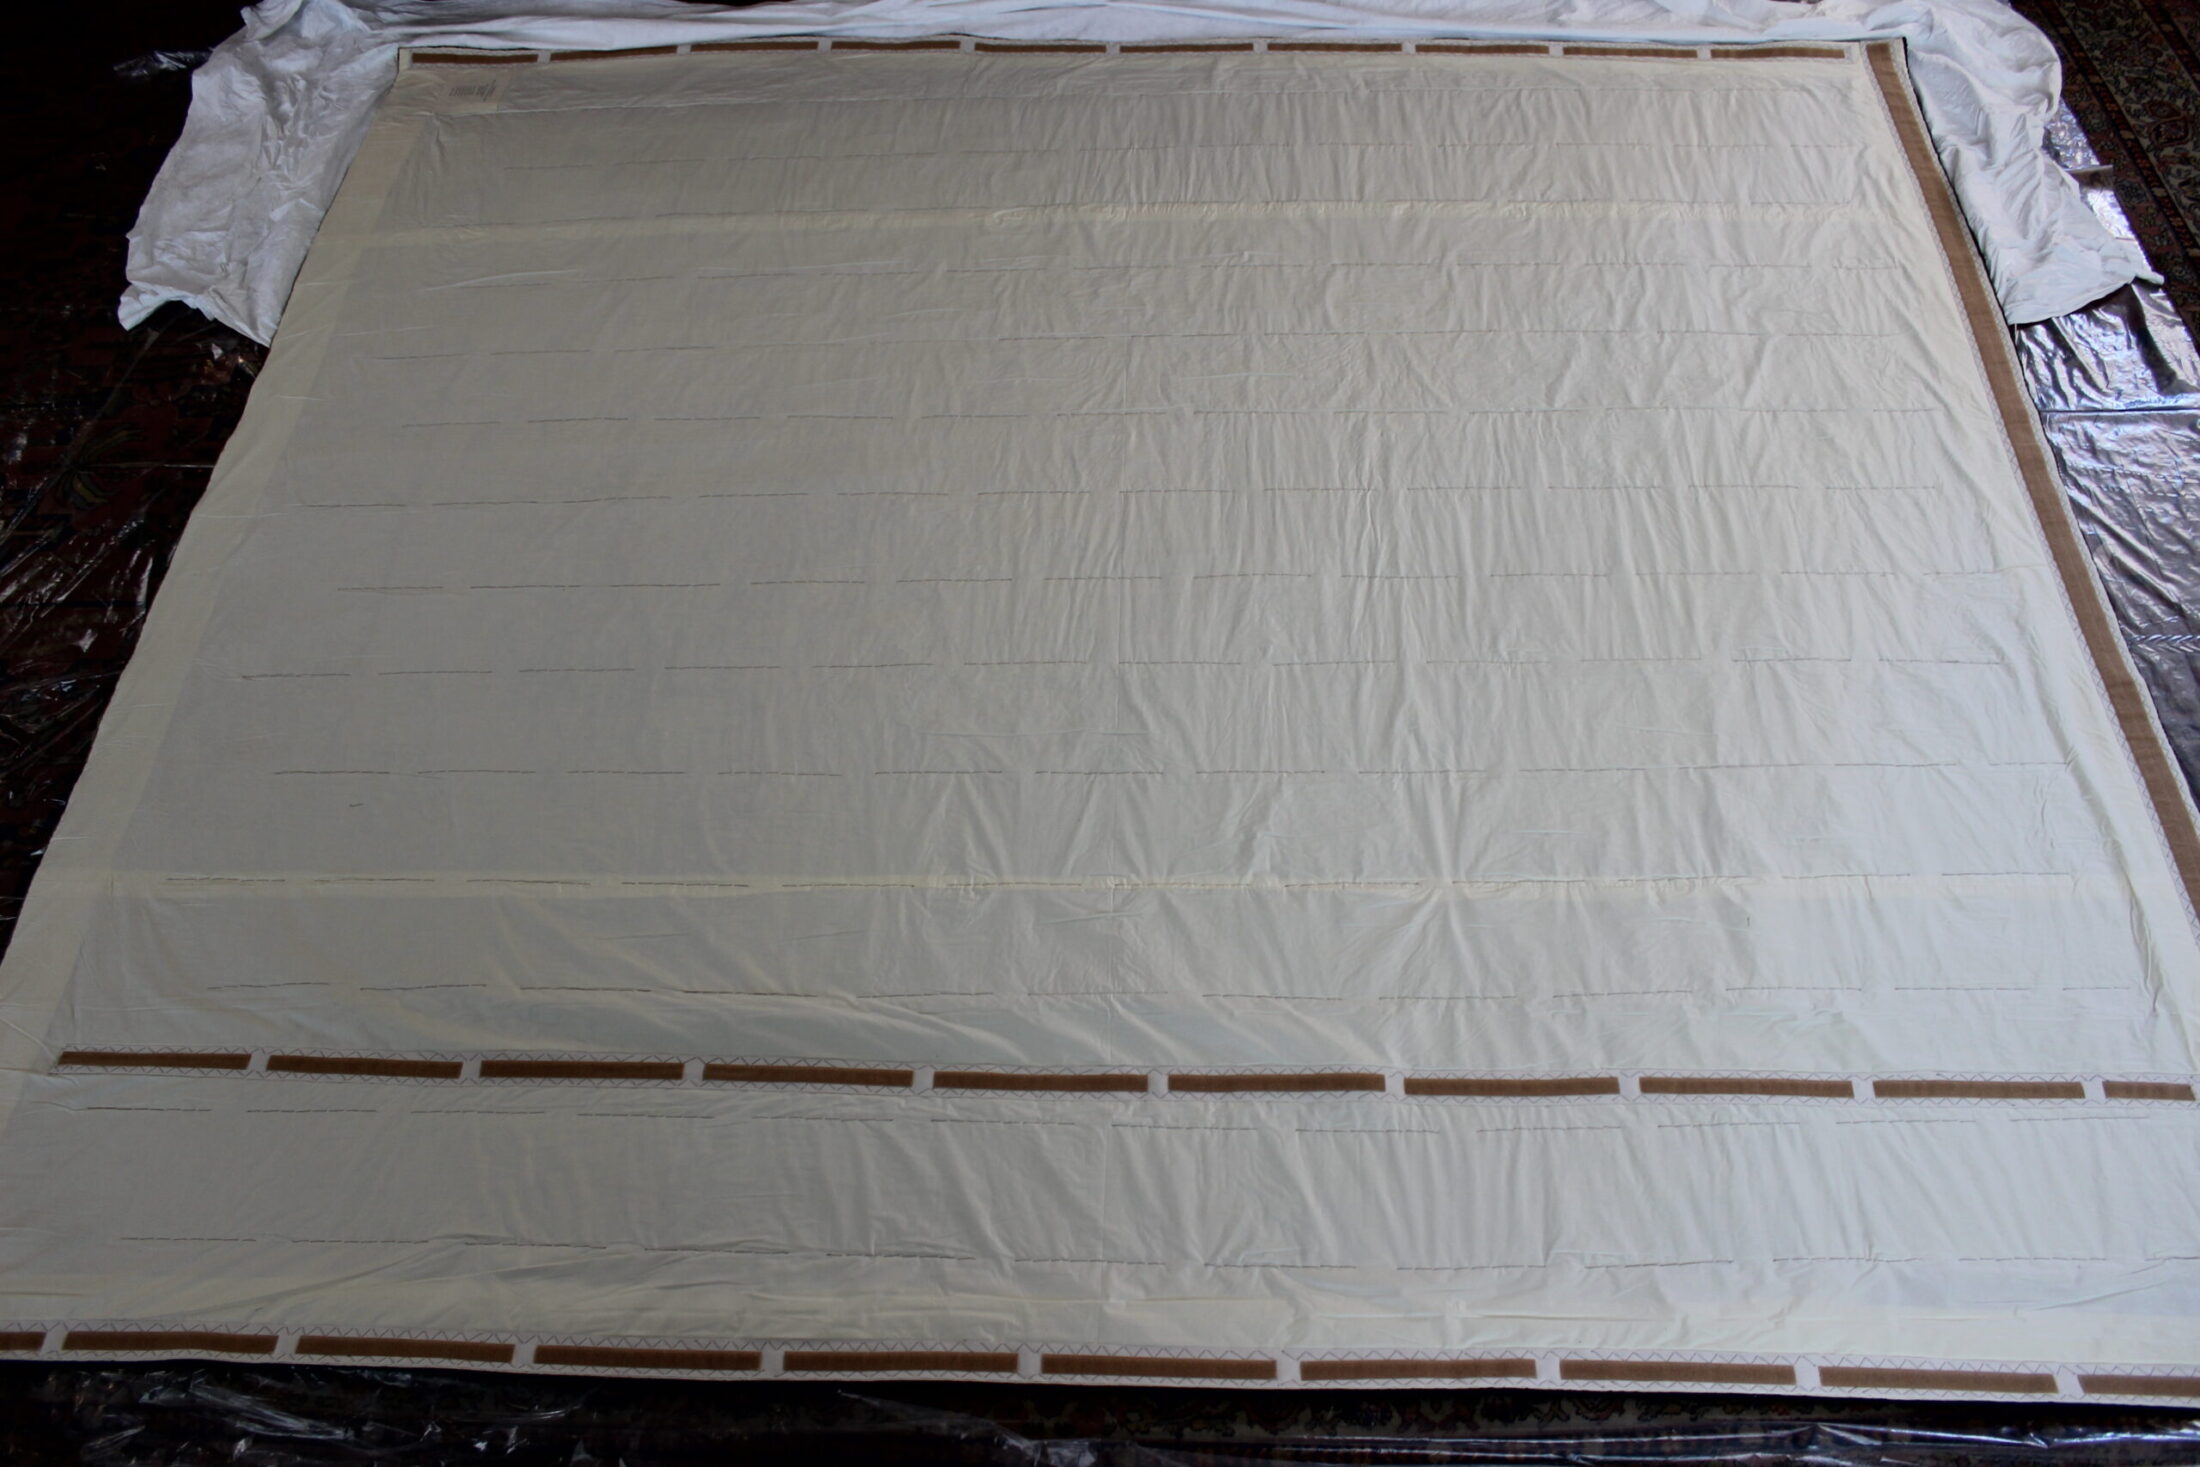
Once we have a piece of cotton the right size, we have to line it up and pin it to the back of the tapestry before stitching on the frame (see image one). So our support stitches are evenly spread across the tapestry, we use a template which is made out of a clear plastic sheeting called Melinex®(see image two).
With the lining in place it is time to attach the Velcro®. It may seem an odd way to attach tapestries to the wall but it is a very effective way of spreading the weight evenly across the whole width whilst providing a secure fixing. Although Velcro® didn’t exist in the 18th Century, if it did I’m sure they would have used it instead of the thousands of nails which they nailed in. As the tapestries are covering all walls and are butted up to each, we stitch Velcro® down the sides are well as along the top (see image three).
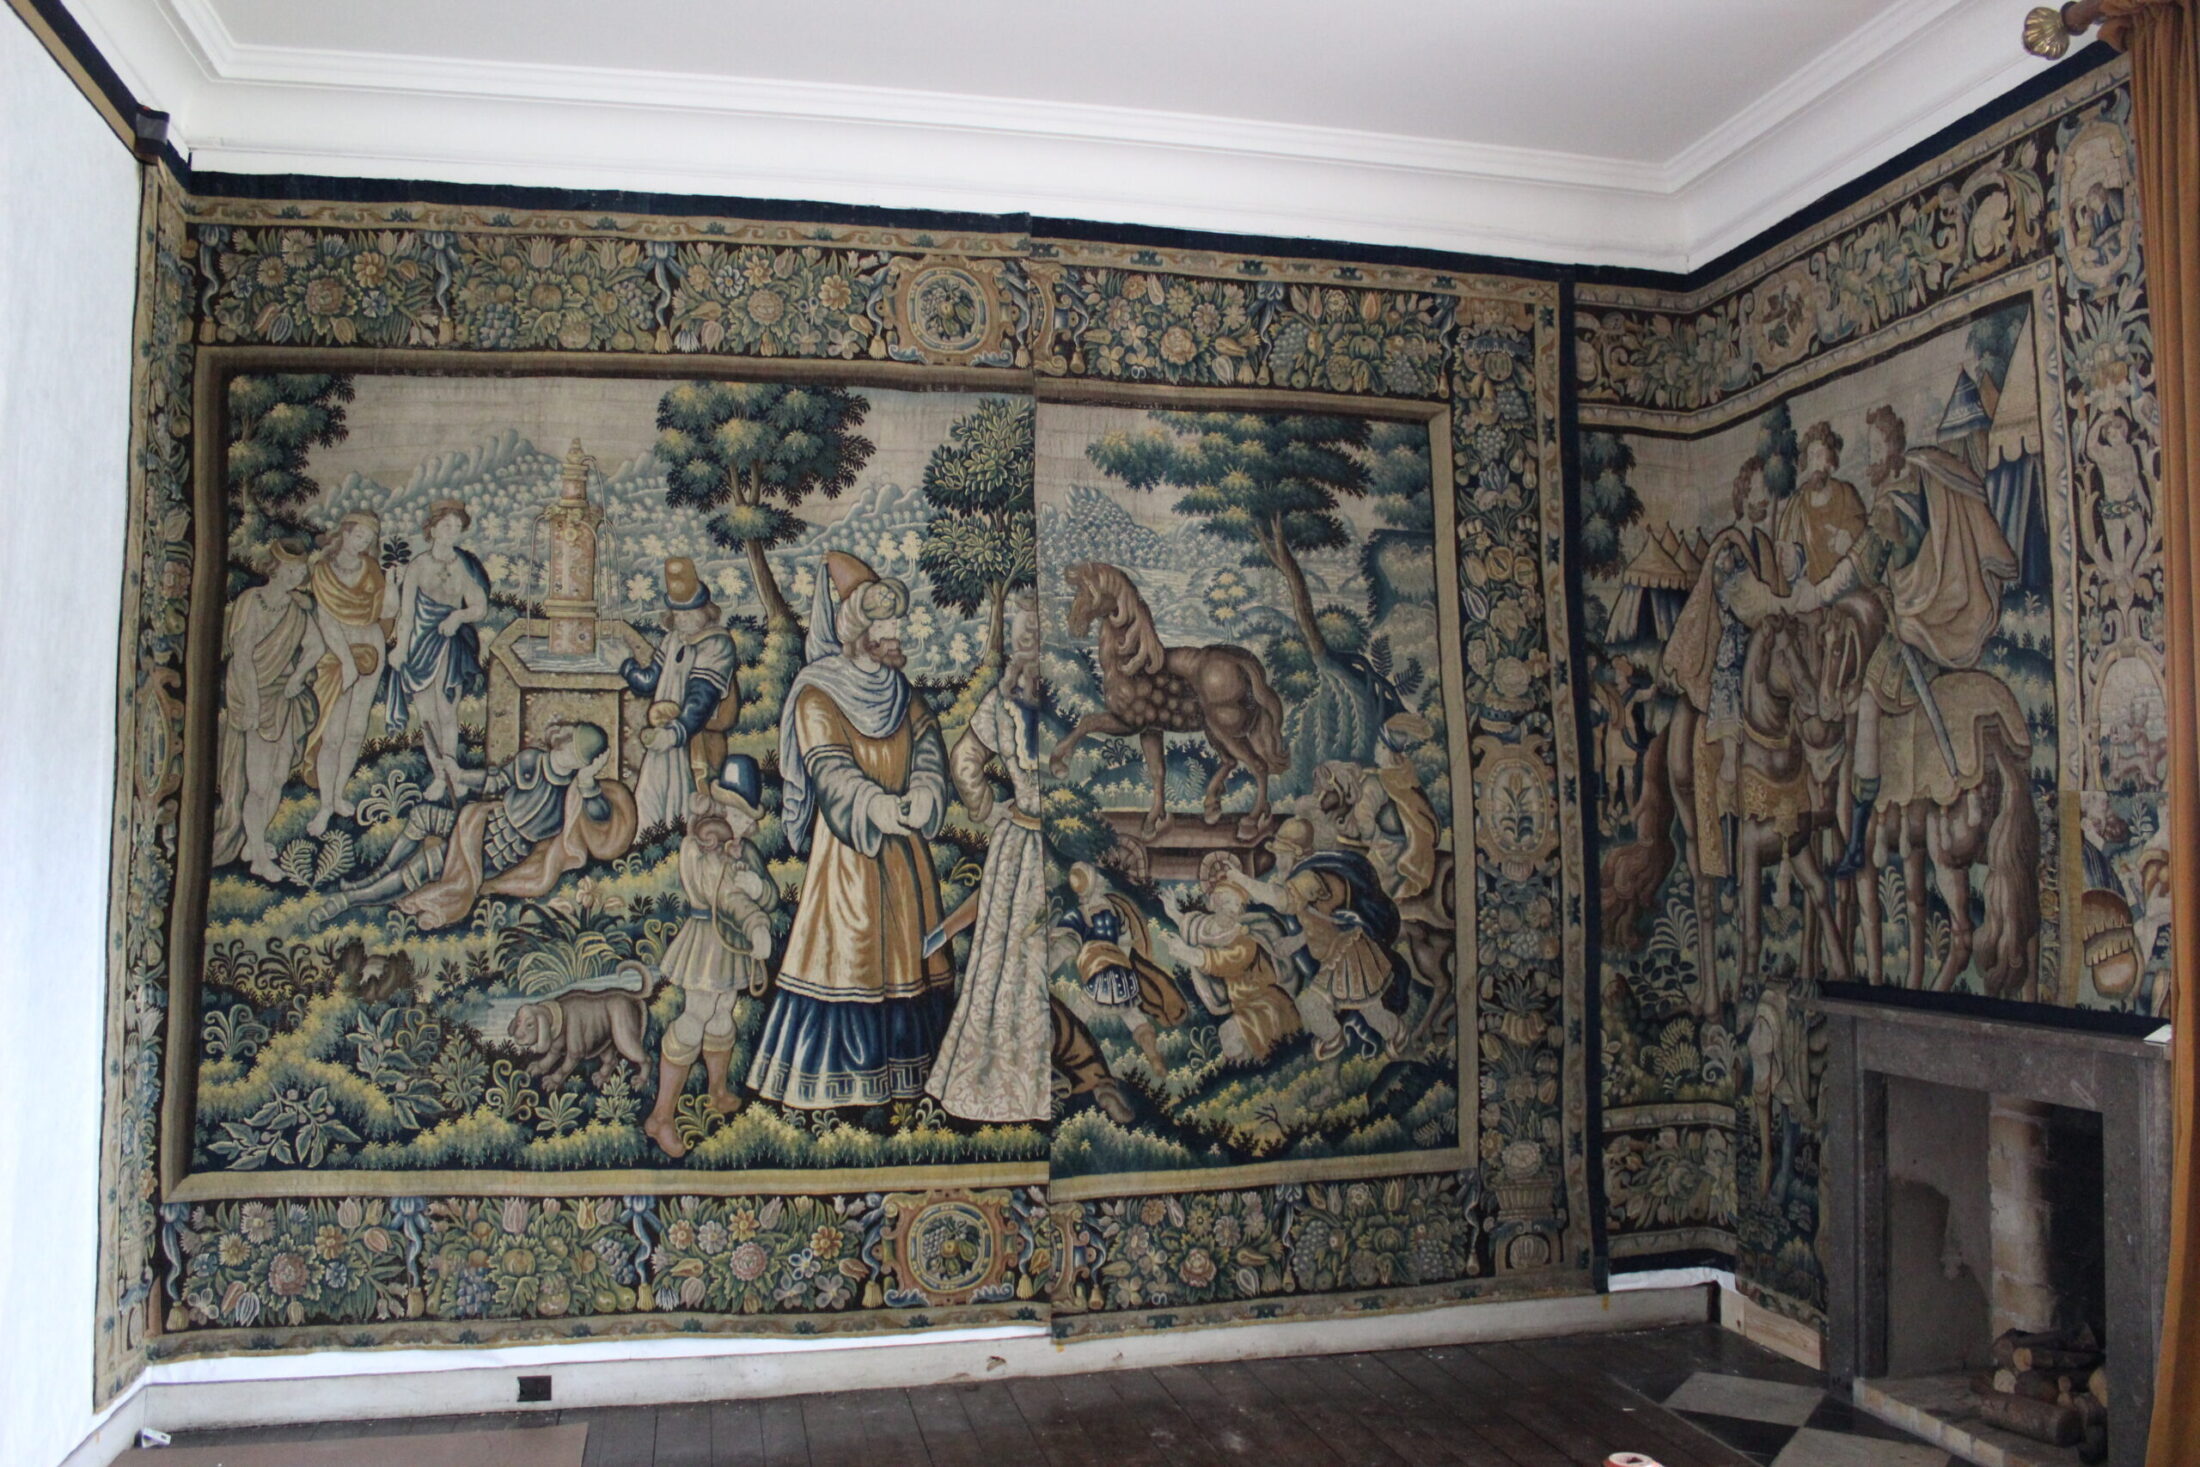
I have enjoyed the lining process but I have to say hand sewing through downproof cotton is tough on your fingers as the close weave makes it harder to stitch, the results are fantastic though. If you would like to see the tapestries in situ, we currently have several tapestries complete and on the wall in the Yellow bedroom for visitors to see (see image four).
Find out more about the Doddington Hall Conservation Charity here and for images and weekly updates on the conservation project, follow us on Instagram at conservation_at_doddington.
Harriet Perkins
Tapestry Conservation Intern
Image one: Harriet pinning the lining on to the back of the tapestry
Image two: The tapestry on the frame with the Melinex® template on top for support stitching
Image three: Full view of the tapestry from the back with the support stitches and Velcro® attached
Image four: Complete tapestries in situ in the Yellow bedroom.