At the start of September, the team travelled to Mechelen in Belgium to join the tapestries from the Yellow bedroom of Doddington Hall at The Royal Manufacturer De Wit.
During our visit to De Wit we were able to see the first couple of tapestries from the Yellow bedroom set washed. On arrival, the cleaning process was discussed with staff at the facility. It was remarked that this set of tapestries were the dirtiest they had ever seen. This is quite something as they wash around 150 tapestries each year and have been using the aerosol suction method to clean tapestries since 1991.
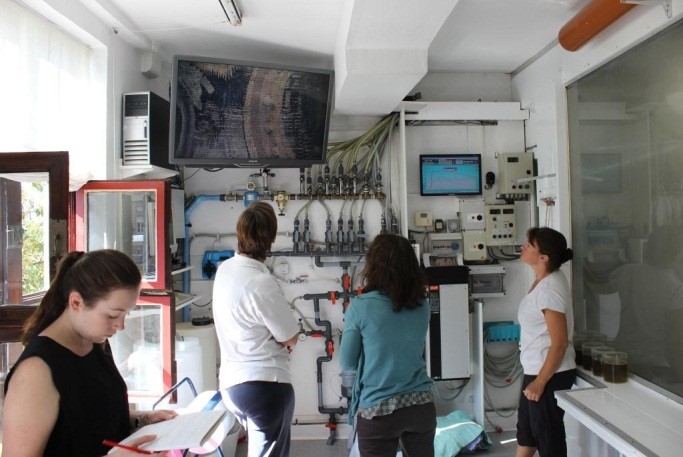
The tapestries were laid out on foam to support them on top of the mesh layer of the large suction table. The tapestries were sprayed from the top of the wash chamber, with a mist of soft water and conservation detergent while the suction from beneath drew though the wash liquid. A sample of the wash liquid was tested for pH and conductivity; these measurements were plotted onto a graph to show the progress of the wash.
The dirt in the tapestries was very acidic, so as the wash progressed this improved and moved toward a more neutral PH. Conductivity measures the ability of a solution to carry a current, the very black dirty water coming off the tapestry at the start of the wash had a high conductivity. This improved as the wash progressed and the water passing through the tapestry became clearer, carrying less particles and ions that could carry a current.
A video microscope mounted on a boom shows the surface of the tapestry and any especially weak areas can be closely monitored. This process lasted for around an hour, until the conductivity had plateaued to a steady point.
Image 1. The aerosol spray is turned on.
Image 2. Looking at images of the surface of the tapestry as it is washed.
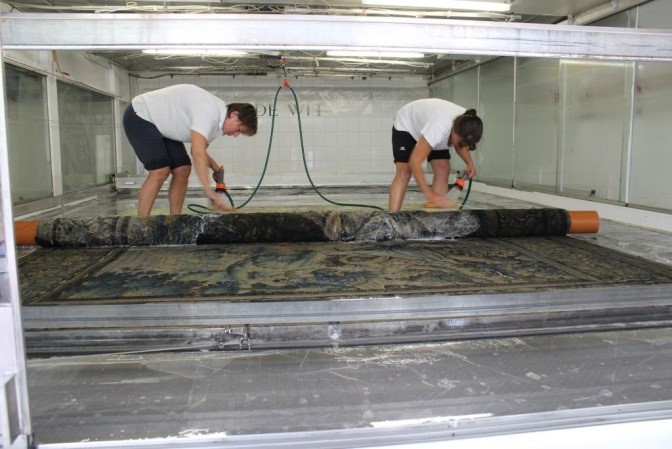
The tapestries already looked much cleaner by this point of the wash, the colours and details hidden under the soiling were starting to reappear. Once the aerosol spray was turned off the front of the wash chamber was opened and the two conservators from De Wit were able to start gently brushing the tapestries with soft brushes to help loosen and remove the soot and dirt. They started by turning off the suction and rolling the tapestry on a large pipe to its centre, this allowed them to spray and brush the reverse of the tapestry rolling back as they went. They then brushed the other half of the reverse in the same way. After they had finished brushing the reverse the suction and the aerosol spray were turned on for ten minutes to draw through the loosened dirt. After this the aerosol spray was turned off and the front was brush washed, then again, the aerosol spray was applied to wash through the loosened soiling.
Image 3. The DeWit Conservators brush washing the reverse of the tapestry.
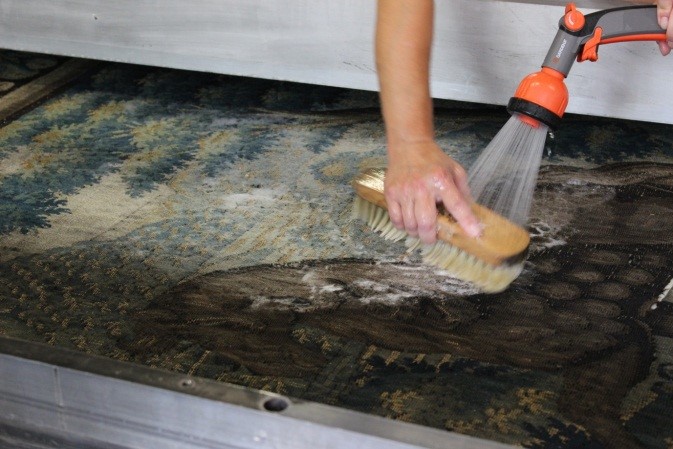
Image 4. Brush washing the front of the tapestry. You can see the tapestry emerging from beneath the dirt!
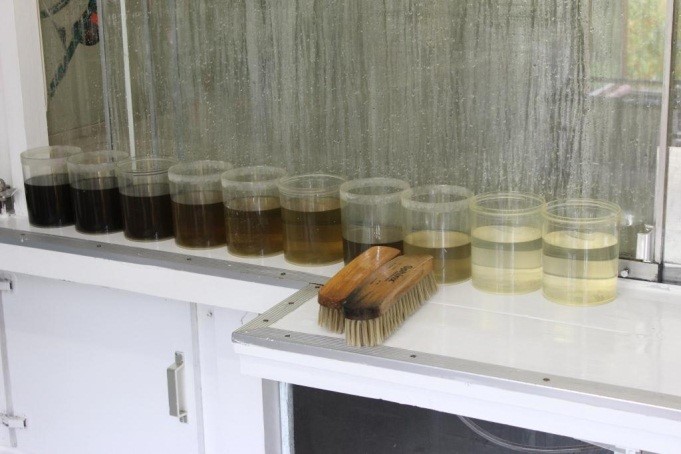
Following this the tapestries were rinsed for two and a half hours. Firstly, with soft water and finally with deionised water. As samples of the water were collected you could clearly see how the washing process and rinsing had removed the soot, dirt and acidity from each tapestry.
Image 5. The water samples taken during the wash from beginning to end and the brushes used during the wash.
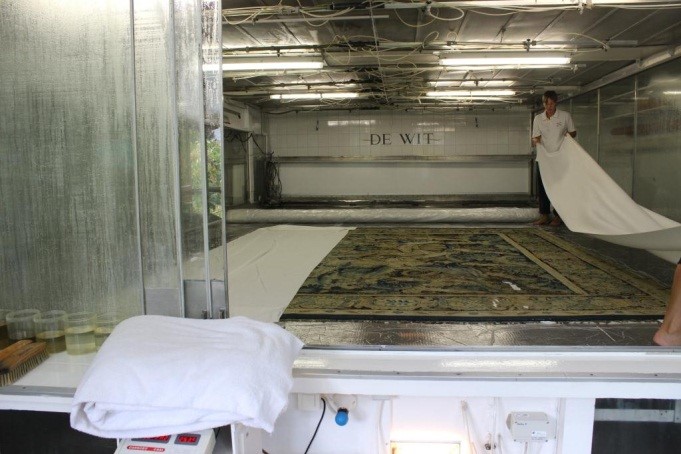
Image 6. Laying towels across the tapestries to blot the water.
The suction remained on during the drying process. Very large towels were laid across the top of the tapestries, which were then covered with a thin plastic for about 30 seconds. This process was repeated twice with the towels and twice with absorbent paper to blot a lot of the water out of the tapestries.
They were then left to dry at 30®C with the suction on for two hours. The complete wash and dry cycle for the first tapestry we observed was finished by 7pm. It was then left to rest overnight in situ. The transformation of the tapestry after cleaning was amazing. The faces of the characters were distinguishable and the colours were clear.
The next day the second group of tapestries were prepared for washing.
Image 7. The image taken shows the contrast between a clean tapestry and a dirty tapestry from the same set. What a difference a day makes.
As well as viewing the cleaning process at De Wit we were kindly shown around the conservation-restoration studio. They have a large team working on up to ten tapestry frames of tapestries and borders. We all found it very interesting to see the different methods of repair that are used.
We would like to thank all of the staff at De Wit for allowing us the opportunity to see their unique tapestry cleaning process.
For images and weekly updates on the conservation project, follow us on Instagram at conservation_at_doddington.