We think it’s about time we explained the conservation stitches that are typically used in tapestry conservation and the stitching we carry out day to day at the Heritage Skills Centre.
For each tapestry, we carry out supportive stitching through a linen fabric backing, which we refer to as linen ‘scrim’. The scrim provides extra strength and support to the structure of the tapestry. We carry out honest repairs to the tapestry. There is no attempt to reweave the original. The conservation stitching is evident on close inspection but from a far the image reads as was first intended.
A brief explanation of each stitch term will be given and images to show the difference before and after conservation. Please refer to our previous blogs, which explain a bit more about the structure of the tapestries such as what we mean by ‘warp and weft’, this will help in understanding the conservation stitching we carry out.
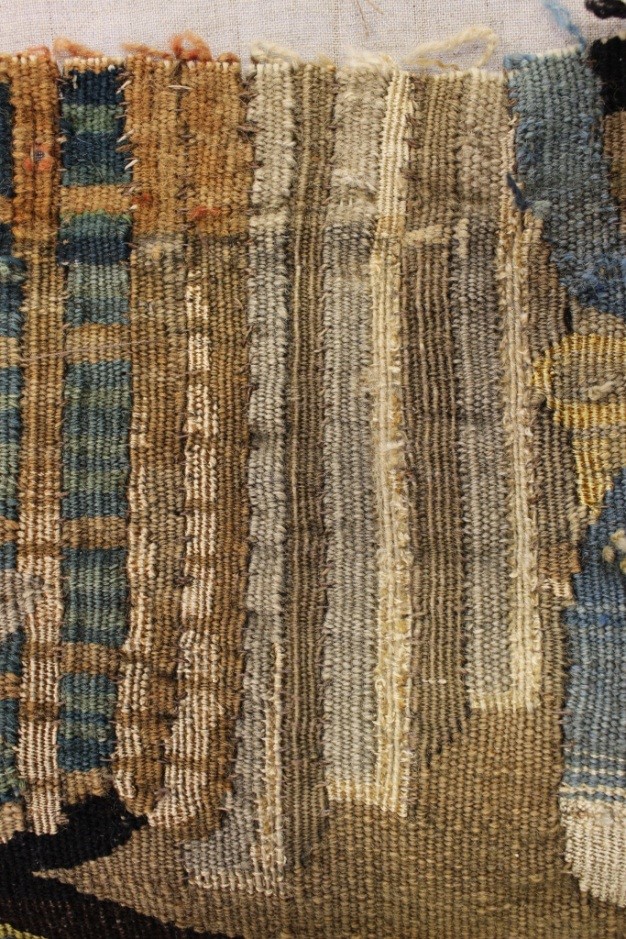
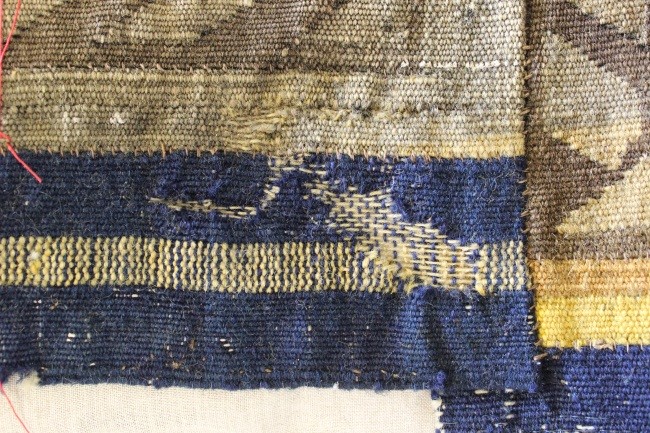
Slit stitching
Tapestries have many woven slits as part of its structure; the slits are used by weavers to make colour changes or to add a detail to the tapestry design. The original linen thread used to stitch these slits closed after the weaving process was completed is now weak or broken due to the age of the thread and dye degradation.
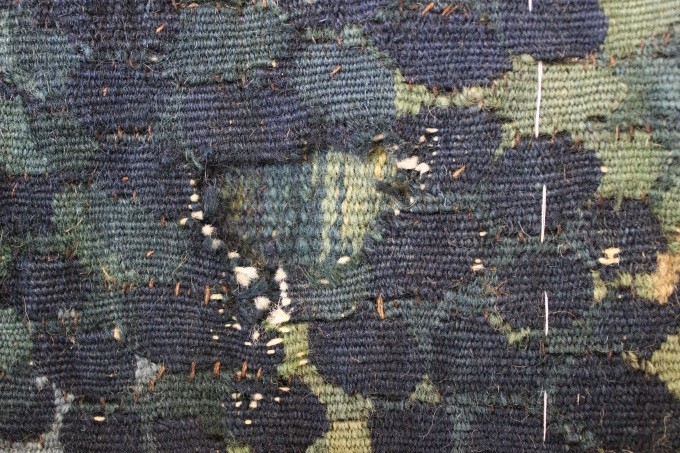
To repair the slits, we stitch over the previous stitching using a coloured polyester thread. We use polyester thread as it is strong and long lasting, the slits on the tapestry run horizontally when hung so are required to carry weight.
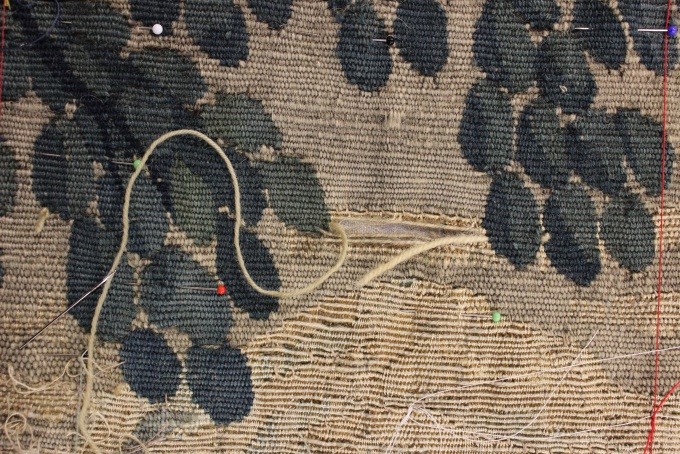
Images 1 and 2. Show before and after reinforcing the slits
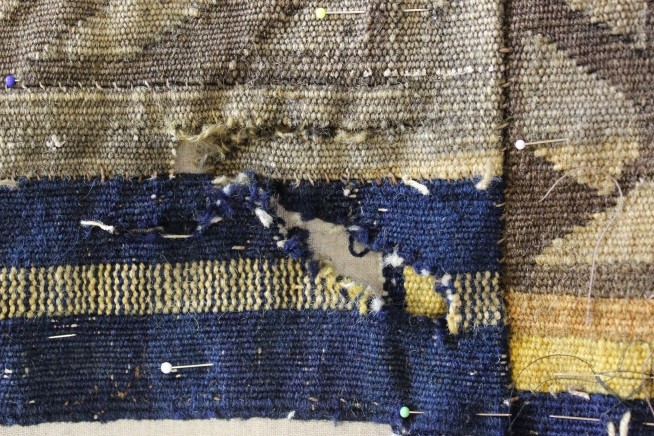
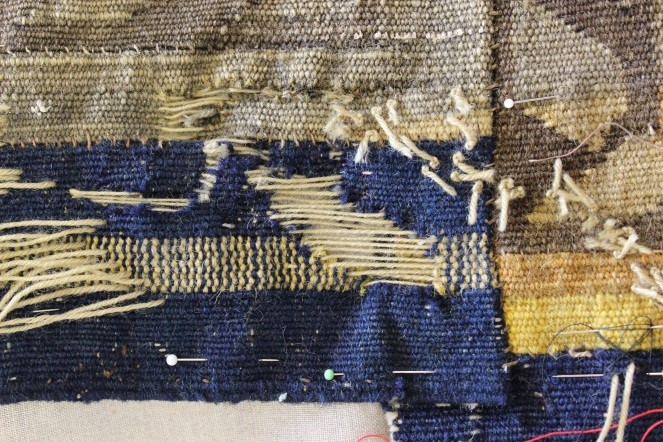
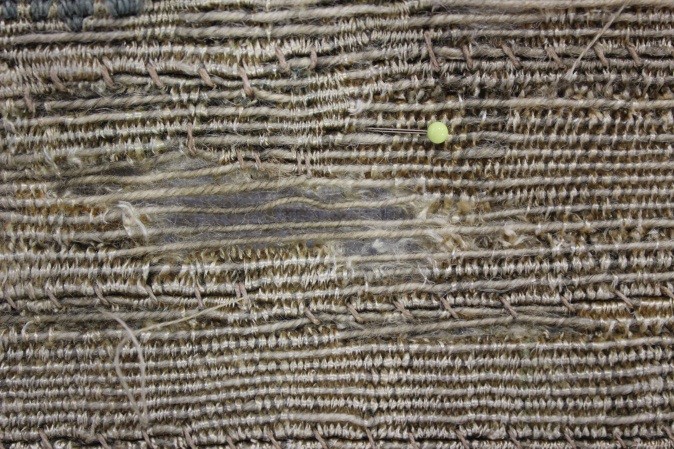
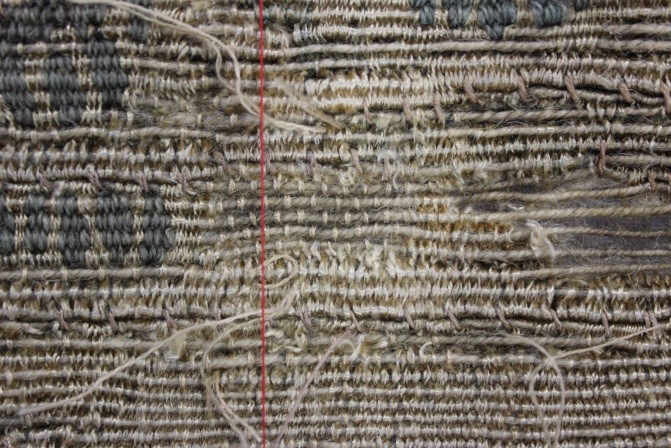
Re-warping
Re-warping is carried out when warps are broken or extremely fragile. We replace the warps with a new wool yarn matching in colour and thickness, and we then channel through the tapestry where it needs replacing. After the new warp is fixed in position we carry out spaced stitching (in either wool or cotton threads) across the new warps which supports and in fills the weak area.
Images 3, 4, 5 and 6. Show before, during, underneath and after conservation
Spaced couching (brick couching)
In weak areas, a spaced running stitch is used. It goes over every other warp, with 3mm spacing in between the stitching lines. It can be carried out in both wool and stranded cotton threads. The even spacing distributes the tension in a wide area causing less strain to the tapestry.
Images 7 and 8. Before and after conservation using the brick couching stitch
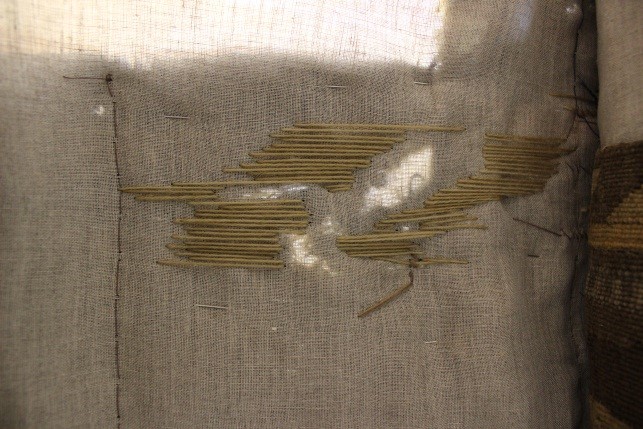
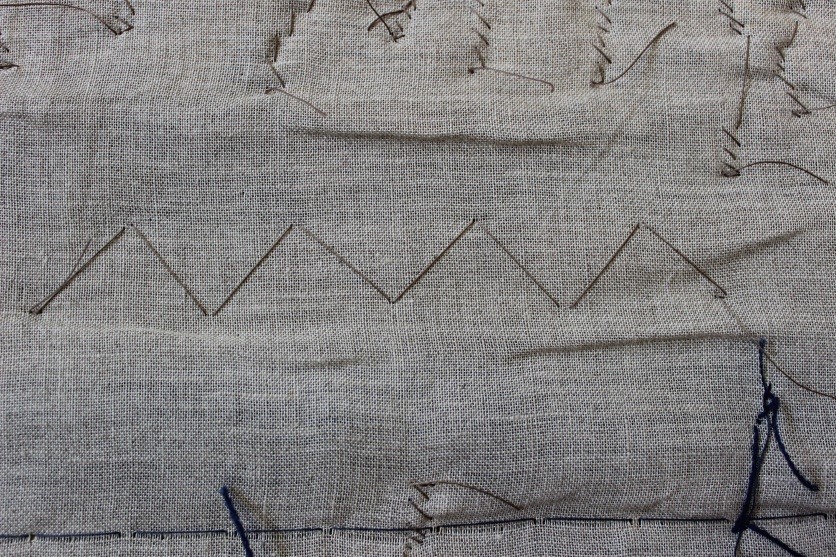
Gridlines
When the linen scrim doesn’t have, much stitching attaching it to the tapestry, gridlines are used to fix the linen in place. This helps prevent any folds and pleats in the supportive backing. To carry out a grid line we use a measured template and polyester thread. The stitch looks like a large zig- zag stitch on the reverse face of the tapestry. On the front of the tapestry, the stitch goes over one warp and then moves diagonally for the next stitch, highlighted on the template at measured points.
Image 9. An example of a gridline stitch shown on the linen scrim
Weavers knot
A weaver’s knot is used when the original warp is broken but has a long tail. This tail can be used to attach a new wool yarn warp to support the original warp. Once the weavers knot is secured, the tails of the warps are secured down through the linen scrim with spaced couching.
Image 10 and 11. This example uses a channelled new wool warp which is then used to create a weaver’s knot with an original warp.
Tapestry patches
The tapestry patches (fragments and small pieces of tapestry cut from larger pieces of original tapestry) that were used in the c.1760 repairs of the tapestries were carefully documented and removed in 2010. They were removed to enable a successful wet clean to the tapestries. Some tapestry patches had become loose and weren’t following the direction of the warps correctly. We have used this documentation, to make sure we fix the tapestry patches back into their original positions. As you can see tapestry patches really blend into the tapestry quite well. The patches are fixed with a reverse herringbone stitch that looks similar to the gridline stitching.
Images 12 and 13 showing hole in tapestry and tapestry patch supporting the hole
Patch supports
To support large weak areas or areas of loss we insert patch supports. The patches are dyed to match the area of loss and we have chosen to use wool Voltaire (a plain weave fabric) or wool rep (a ribbed fabric that has an appearance similar to the tapestry). The fabric patches are attached with the same method as the tapestry patches by using a reverse herringbone stitch on the face of the tapestry. To support the weak areas, we carry out spaced couching which helps prevent any more loss.
Images 14 and 15. Before and after patch support
Laid Couching
If an area in the tapestry is too fragile for spaced couching, at an unseen turned edge, or an area that has lots of loose weft threads, we have used a laid couching technique. It is a long laid polyester thread which is couched down with regular small stitches. It is carried out following the direction of the warp and in-between every two warps. It holds weft threads in position and stabilises the area.
Images 16 and 17. These are images of an area that had been badly damaged. You can see the large amount of loose and unravelling weft in the top image which has been secured back down used laid couching threads
For images and weekly updates on the conservation project, follow us on Instagram at conservation_at_doddington.