When large areas of the tapestries are missing, there are a number of treatment options available to us. We could re-warp the hole and couch down the warps, support the area with a newly dyed fabric patch or with a tapestry patch where one is available.
To fit in with the previous tapestry patches and the historic repairs made to the tapestries in the 1760s we decided to use patch supports in the missing areas rather than re-warping like we do for small holes. The Peddler tapestry which fits around the door at the entrance to the Holly bedroom is badly damaged with large parts of the tapestry missing along the edge of the door and in the bottom border. We had a look at a couple of different fabric patches and also a tapestry patch found in storage at Doddington Hall.
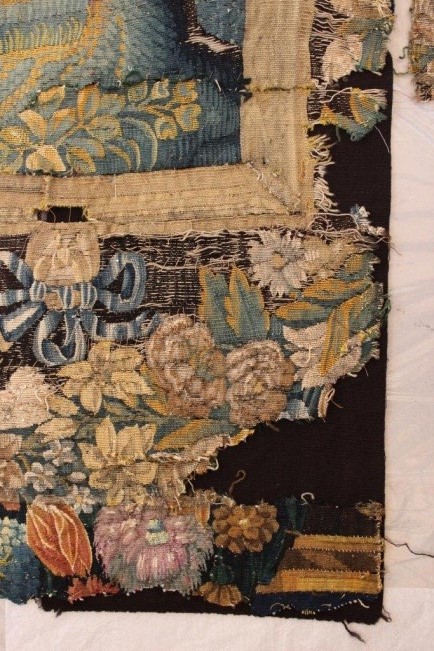
Image 1,2 & 3. Tapestry with missing section, Brown wool rep patch or tapestry patch.
We decided that the tapestry patch was the least visually distracting as the busy design helps disguise the patch. The patch has been in store at Doddington Hall, we believe the patch is from the set of tapestries in the Holly bedroom and originally was woven as part of the lower border of the Cobbler tapestry but we don’t know why it was removed as it isn’t in bad condition.
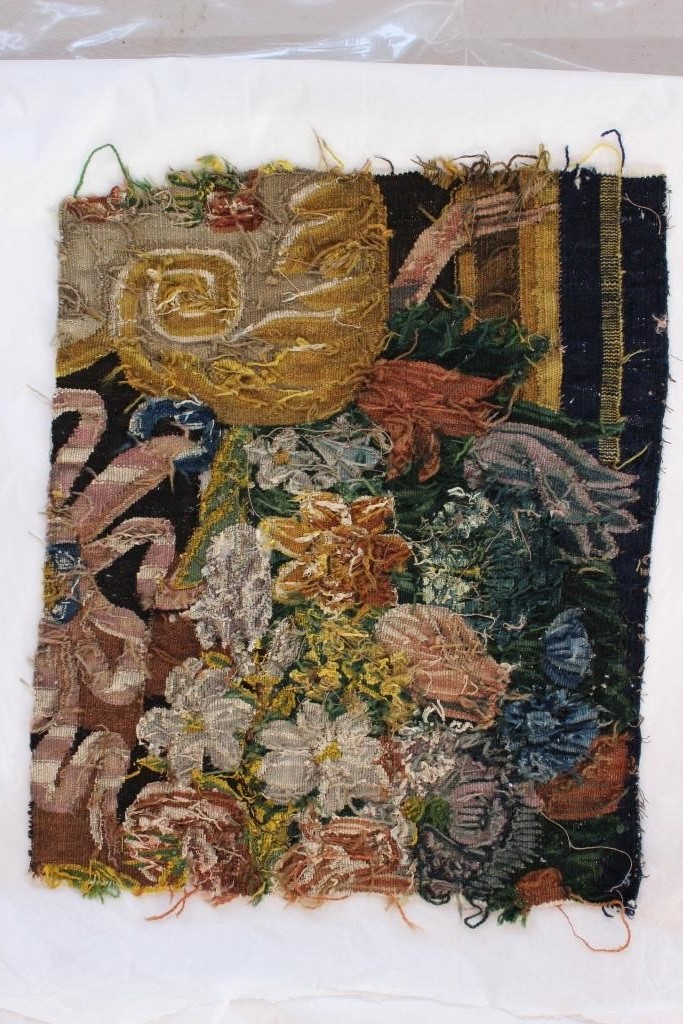
The patch had not been to the specialist cleaning facility De Wit so was still very soiled with dirt and soot. Before we could introduce it to the tapestry we had to wet clean it at the Heritage Skills Centre.
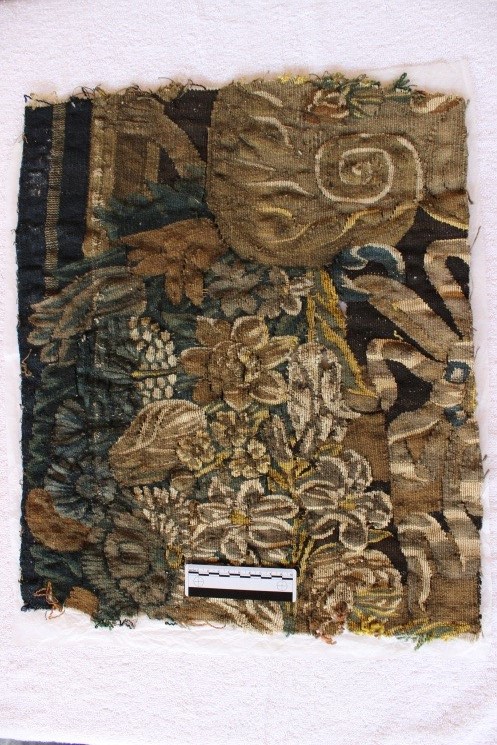
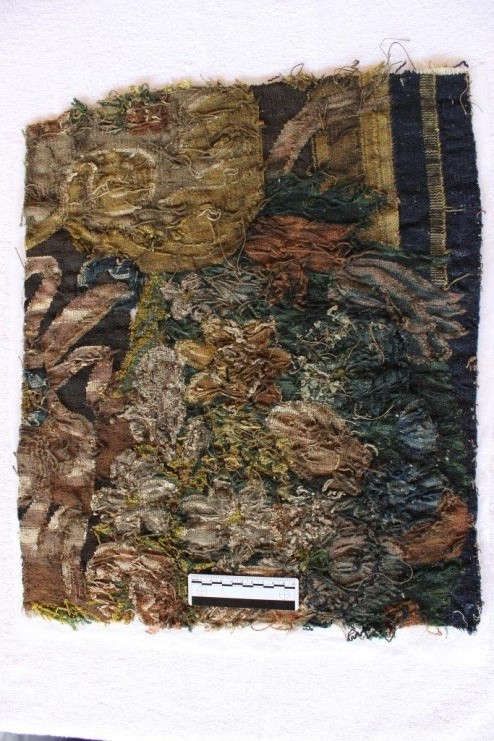
Image 4 & 5. Tapestry patch before wet cleaning – front and back.
The patch was documented with photography before the wet cleaning and measurements were taken. Then a wash bath was set up at the Heritage Skills Centre using thick polythene sheeting laid over a brick form. Calculations were made to find out how much water was needed to cover the tapestry patch in each wash and rinse cycle. A wash solution was made up using a conservation grade non-ionic detergent at ten times its critical micelle concentration to be used as the wash solution as the patch was very heavily soiled; no other additives were used in the wash.
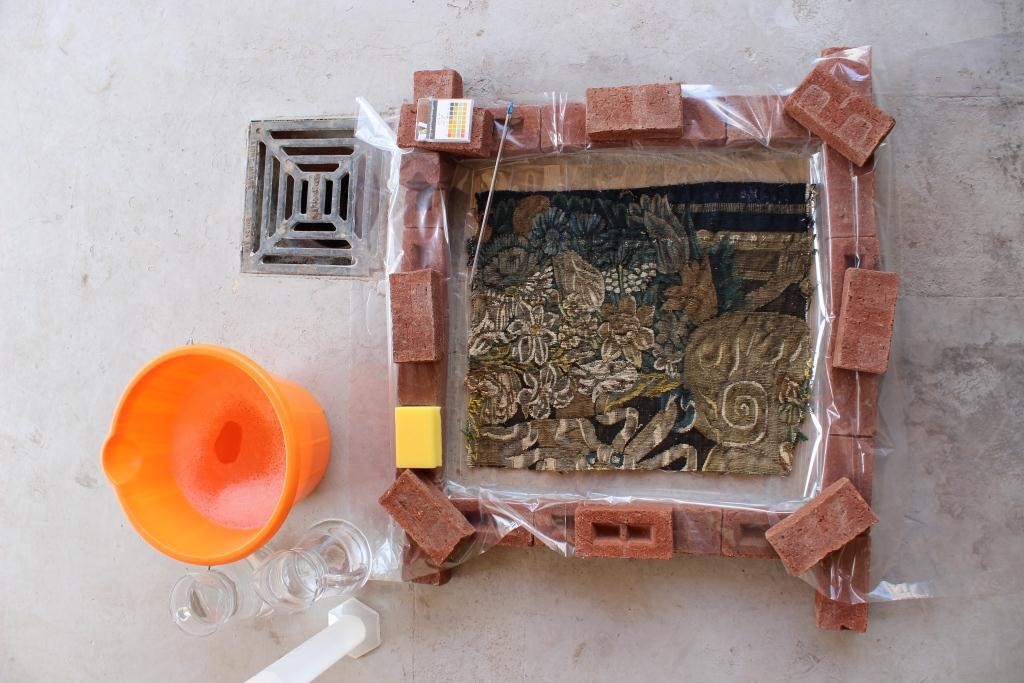
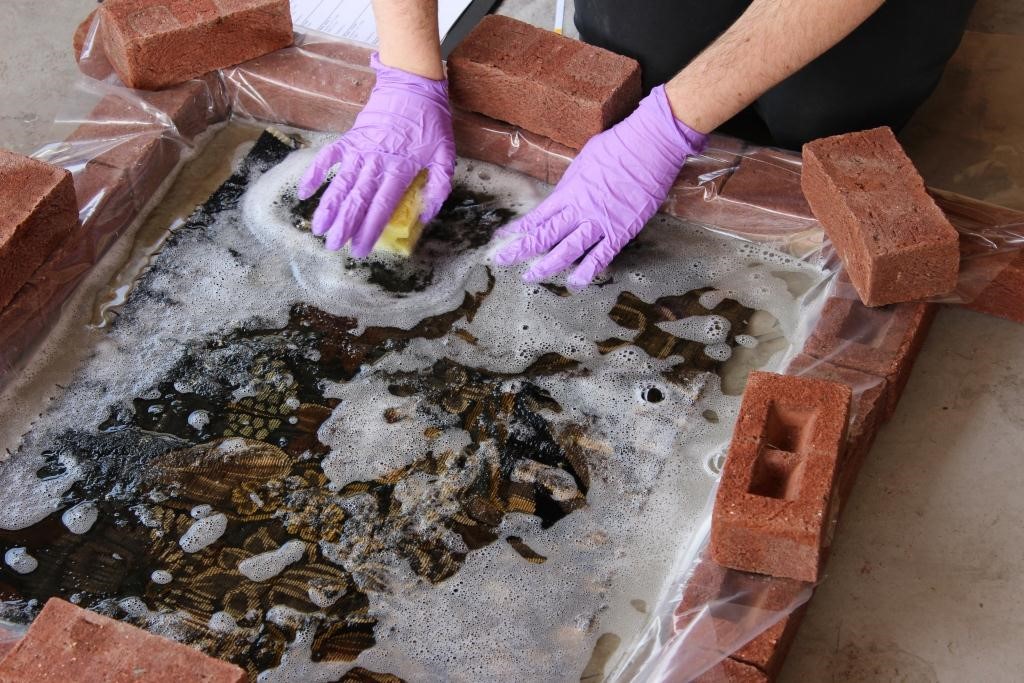
Image 6. A temporary wash bath was set up at the Heritage Skill Centre.
The patch was laid in the bottom of the wash bath and three litres of filtered water was gently poured on top. It wetted out slowly over twenty minutes, some acidic yellowing was seen in the water but very little of the black soot was removed. This soaking water was drained away and replaced with the wash solution; the patch was then carefully sponged to gently agitate the fibres to release the soiling on the front and then the reverse. This water become very dirty quite quickly and was drained away and rinsed. A further four wash and rinse cycles were carried out to remove as much soiling as was possible.
Image 7. Sponging the tapestry to aid the removal of soot and soiling.
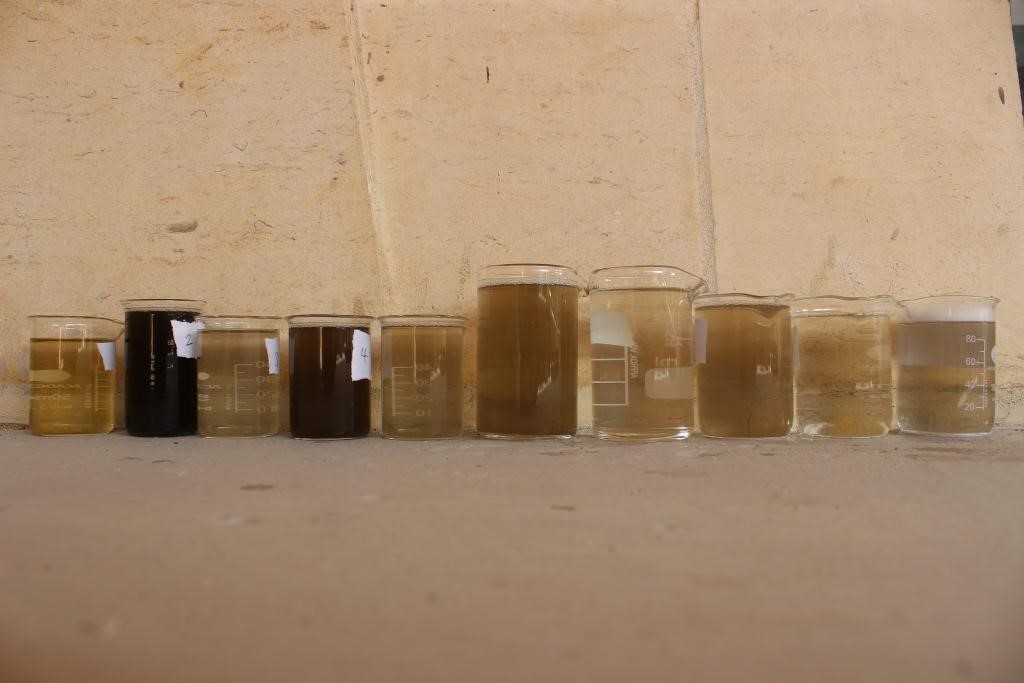
The temperature and pH of the wash solution was carefully monitored during the wash and a water sample was collected at each stage. After the fifth wash the soiling was greatly reduced and it was decided to thoroughly rinse the tapestry to remove any remaining detergent before blotting it with clean towels and leaving it to dry in the air.
Image 8. Water samples from the wet cleaning of the tapestry patch.
After it had dried it was visibly cleaner and more flexible.
Image 9 & 10. Tapestry patch after wet cleaning – front and back.
For images and weekly updates on the conservation project, follow us on Instagram at conservation_at_doddington.